
Adding a patio extension transforms a basic backyard into a true outdoor living room. Whether you’re looking to entertain guests, create a quiet retreat, or simply add functional square footage to your home, backyard patio extension ideas offer practical solutions that fit most budgets and skill levels. The key is understanding your space, choosing materials that’ll withstand the elements, and designing with both aesthetics and function in mind. This guide walks you through the essentials, from layout planning to finishing touches, so you can confidently expand your outdoor space without costly mistakes.
Table of Contents
ToggleKey Takeaways
- Define your backyard patio extension’s purpose and layout first by measuring your space, noting utilities, and checking local permit requirements to avoid costly mistakes.
- Choose durable patio materials like concrete pavers ($4–10 per sq ft) or natural stone ($10–25+ per sq ft) and always invest in proper base preparation with compacted gravel and correct slope away from your house.
- Add shade solutions such as pergolas, retractable structures, or shade cloths to transform your patio into a genuinely functional living space that extends usability throughout the day.
- Incorporate functional design elements including designated seating zones, fire pits, outdoor kitchens, and proper drainage systems to prevent water damage and maximize your outdoor space’s utility.
- Enhance your patio extension with lighting—from string lights and solar pathway lights to GFCI-protected hardwired options—to create evening ambiance and improve safety for nighttime use.
Define Your Extension Layout and Purpose
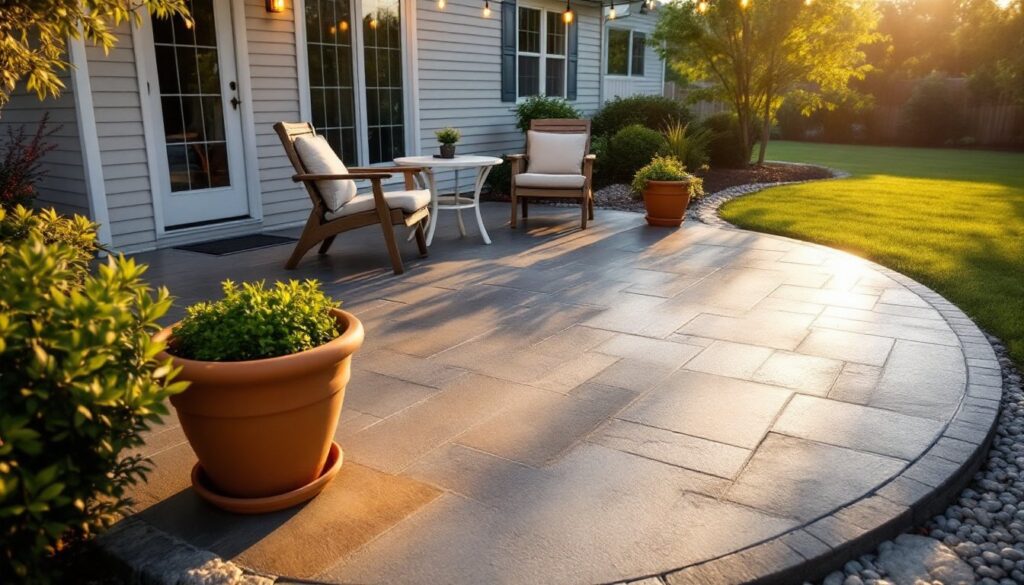
Before you buy a single paver or dig a hole, answer this: what will your extended patio actually do? Are you adding a dining area, a fire pit lounge, or a covered workspace? The answer shapes everything, footprint, drainage needs, proximity to the house, and whether you need structural support or just a level surface.
Measure your existing patio and the surrounding yard. Sketch the extension on graph paper, noting existing utilities, downspouts, slopes, and sun exposure. Most code jurisdictions require a permit for any patio larger than 200 square feet or if it sits within 5-10 feet of property lines (check your local building department). A patio that’ll drain toward the house instead of away from it invites water damage: slope matters more than most DIYers expect.
Consider access: can you physically bring materials and equipment into the yard? A narrow side gate limits paver size and delivery options. Also think seasonally. Will this be a summer hangout only, or do you want year-round functionality? That choice influences whether you add a pergola, retractable shade, or decide to go full Multi-Season Backyard: Transform solutions. Spend an hour observing light patterns, morning sun might feel great in winter but unbearable in July.
Choose the Right Materials for Durability and Style
Your choice of material sets the tone, durability, and maintenance burden of the entire project. Concrete, pavers, natural stone, and composites each have trade-offs worth weighing before you commit.
Pavers and Concrete Options
Poured concrete is economical and durable (typically 25-30 years with minimal maintenance). A standard 4-inch-thick slab costs roughly $3–6 per square foot for material and basic labor, depending on region and site prep. The downsides: it cracks in freeze-thaw cycles, shows stains, and looks industrial without finishing. Stamped concrete ($8–15 per square foot) mimics stone or tile but still faces cracking. Always use a proper base layer, at least 4 inches of compacted gravel, or you’re setting yourself up for settling and failure.
Concrete pavers (interlocking units, 8″×16″ or similar) cost $4–10 per square foot installed. They’re modular, easier to repair (swap a cracked paver), and drain better because water runs between joints. You’ll still need that gravel base and sand bedding. Polymeric sand seals joints and resists weeds. Since they sit on sand, expect minor settling over a few years: that’s normal and isn’t a failure, just level with a rubber mallet when needed.
Asphalt is cheap and fast but requires resealing every 2-3 years and softens in high heat. It’s fine for temporary areas but not ideal for patios where you’ll be barefoot.
Natural Stone and Composite Materials
Flagstone, travertine, and slate ($10–25+ per square foot) look stunning and age beautifully. Travertine’s porous surface resists slipping when wet, but some stones absorb stains. Seal natural stone annually. Budget extra for thicker joints (½ inch vs. ⅜ inch) because stone pavers vary in thickness.
Composite pavers (recycled plastic and wood fiber, or concrete blends) cost $12–20 per square foot. They resist rotting and don’t require sealing, but UV exposure can fade them. They’re also softer than concrete, so heavy furniture legs can dent them. Great if you’re aiming for low maintenance and don’t mind slightly higher upfront costs.
Regardless of material, prep work determines success. Compact existing soil, add gravel base, ensure proper slope (minimum ¼ inch per foot away from the house), and use edge restraints to prevent shifting. Cheap here, and you’re replacing the patio in five years.
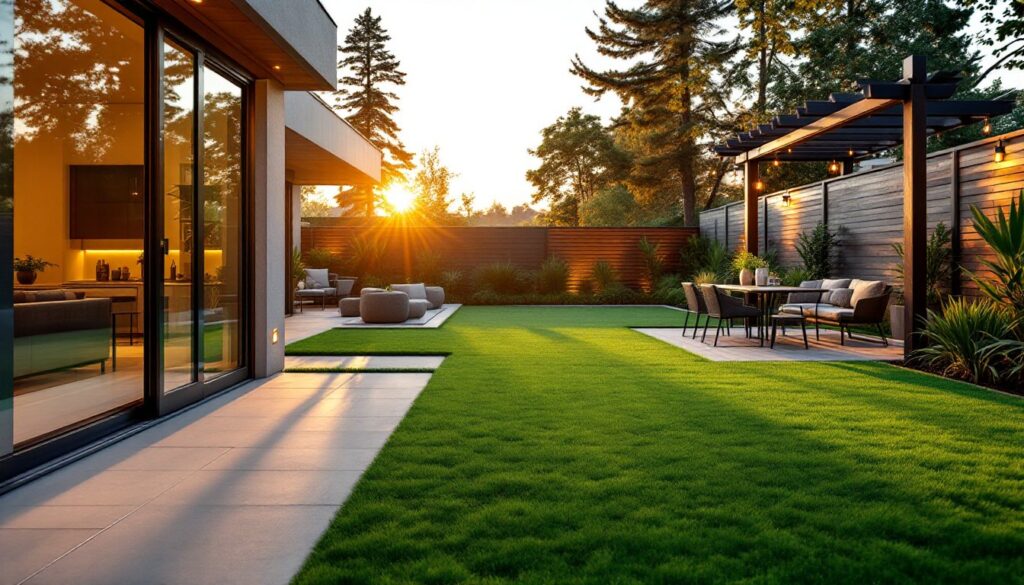
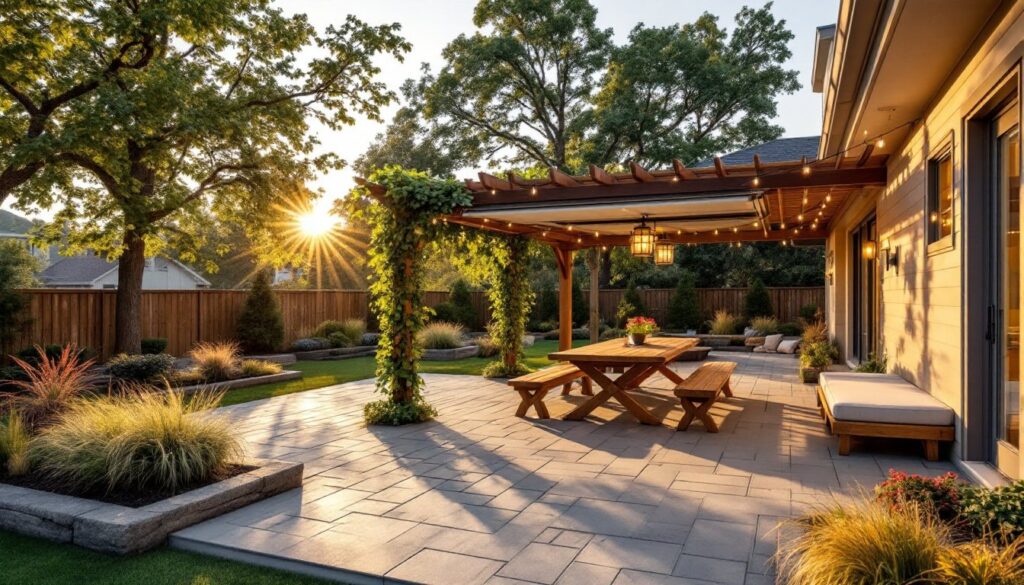
Add Shade and Cover Solutions
A patio without shade is just a sun-soaked concrete pad. Shade transforms it into a genuine living space, extending the window when guests actually want to be there.
Pergolas are popular and versatile. A basic 12×12-foot open-roof pergola costs $1,000–3,000 in materials (pressure-treated lumber or vinyl). They filter direct sun but don’t block rain, so they’re best paired with retractable shade cloth or coupled with climbing vines. Building codes typically require footings below the frost line (2-3 feet in cold climates) and a post diameter of at least 6×6 inches for spans over 10 feet. If you’re not confident cutting and bolting beams, hire this out, a poorly braced pergola can fail under snow load.
Retractable shade structures and motorized pergolas ($3,000–8,000+) let you dial in sun control and work year-round. They’re pricier but save you from wrestling a hand crank in 95-degree heat.
Cloth shade sails ($500–2,000) create a modern look and block 75-90% of UV. They’re easier to install than a pergola but less elegant and require occasional cleaning.
Patio umbrellas are the cheapest option ($150–500) and portable. Offset or cantilever designs let you position shade where it’s needed without a center pole blocking views. For something more permanent, imagine sipping your favorite iced tea on a hot summer day while Shade Trees for Patio: Transform your space into a cool oasis, trees like oak, maple, or ash grow slower but provide decades of natural shade and ambiance.
Incorporate Functional Design Elements
A well-designed patio extension pulls double duty: it’s beautiful and practical. This is where layout and built-in features earn their keep.
Seating and dining zones should be grouped near the house or under shade. If you’re hosting 10 people, a 12×14-foot extended patio might feel cramped: 16×20 feet is more comfortable. Allow about 12-15 square feet per person for dining, plus circulation space. Built-in benches with hidden storage reduce clutter and cost less than standalone furniture.
Fire pits or outdoor kitchens are popular but require planning. A simple propane or wood fire pit ($300–1,500) needs to sit 12 feet from structures and overhanging vegetation (check local fire codes, which vary). Outdoor kitchen islands ($2,000–10,000+) demand gas lines, electrical outlets, and ideally a roof. This is licensed-contractor territory if you’re running gas or adding circuits: DIY is tempting but often fails inspection or creates hazards.
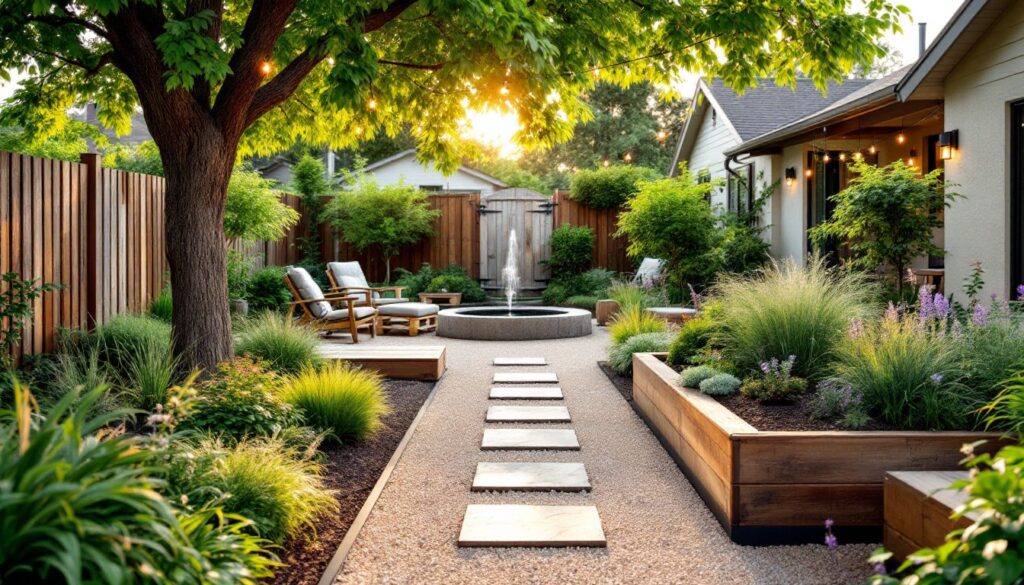
Planters and built-in landscaping soften hard surfaces and create privacy screens. Low perennials or ornamental grasses in raised beds look polished without requiring deep digging. Use landscape fabric under gravel or mulch to suppress weeds. These 10 Creative DIY Backyard Projects you can tackle yourself add character and don’t demand a permit.
Drainage is non-negotiable. A patio extension that pools water after rain becomes a mosquito breeding ground and damages your foundation. Grade the surface away from the house, add a perimeter drain if needed, and ensure soil beneath the patio sheds water. French drains or dry wells handle edge runoff elegantly.
Enhance With Lighting and Ambiance
Lighting turns a daytime patio into an evening gathering spot. It’s also often the cheapest feature to add in terms of material cost, though electrical work might require a licensed electrician.
String lights and bistro lights ($50–300) create instant ambiance and don’t require hardwiring. Solar-powered versions avoid trenching for electrical. Hang them in a grid or loosely across a pergola for soft, flattering light. They don’t provide task lighting for cooking or reading, but they’re perfect for entertaining.
Recessed deck or step lights ($30–100 each) improve safety and define edges. If you’re building a raised patio or steps, plan light placement during construction, retrofitting is messier.
Landscape spotlights highlight trees, architectural features, or planting beds. A few well-placed uplights transform the space after dark. Solar landscape lights are cheap and wire-free: low-voltage hardwired versions ($15–40 per light) are brighter and more reliable.
Pathway lighting guides guests and prevents trips. Low-level LED path lights ($20–50 each) use minimal energy and look contemporary. Just imagine lounging in your backyard while your favorite tunes fill the air from Outdoor Speakers Install: Transform your backyard into an entertainment haven. Pair ambient lighting with a good outdoor speaker system, and you’ve got a resort-quality experience.
Important safety note: Any hardwired outdoor lighting must be on a GFCI-protected circuit (built-in circuit breaker that prevents shock). If you don’t know how to run electrical safely, hire a licensed electrician. Low-voltage systems are safer for DIY but still require proper grounding and strain relief at connections.