
A dog house isn’t just shelter, it’s a backyard fixture that deserves real thought. Whether your pup needs a cozy retreat from summer heat, protection during winter months, or simply a den of their own, the design and materials matter. The good news? Building a dog house that’s both functional and attractive is one of the most satisfying DIY projects a homeowner can tackle. From simple wooden boxes to architecturally-minded designs that match your home’s style, there’s a backyard dog house idea suited to every skill level and budget.
Table of Contents
ToggleKey Takeaways
- Proper backyard dog house ideas require sizing based on your dog’s breed—small breeds need 24×24×24 inches, medium 36×36×36 inches, and large breeds 48×48×48 inches or larger.
- A functional dog house design includes a pitched roof for water drainage, sloped floors with drainage holes, and a raised foundation to prevent moisture and improve ventilation.
- Budget-friendly wooden dog houses cost $80–$150 in materials and can be built with basic tools using 2×8 lumber, exterior plywood, and wood screws for a medium-size dog.
- Match your dog house style to your home’s architecture using complementary colors, cedar or composite materials, and thoughtful placement to create a cohesive backyard aesthetic.
- Regular maintenance—inspecting floors twice yearly, ensuring proper ventilation with ½-inch vent holes, and replacing bedding promptly—extends your dog house’s lifespan by years.
- Cedar, redwood, and hemlock are superior to treated lumber for interior walls since they naturally resist decay without toxic preservatives near your dog’s sleeping area.
Choose the Right Size and Style for Your Dog
Size is the foundation of a functional dog house. Most dogs need enough room to stand, turn around, and lie down comfortably, but not so much space that the dog house loses its insulating properties. A rough guide: measure your dog from nose to tail, then add 6 inches. The entrance hole should be about one-third of your dog’s shoulder height, cut in the top half of the front wall to keep wind and rain out.
For a small breed (under 25 lbs), aim for interior dimensions of about 24″ × 24″ × 24″. Medium dogs (25–75 lbs) typically fit well in a 36″ × 36″ × 36″ box. Large breeds (75+ lbs) need 48″ × 48″ × 48″ or larger. Don’t overshadow this step, undersized is uncomfortable, oversized is drafty.
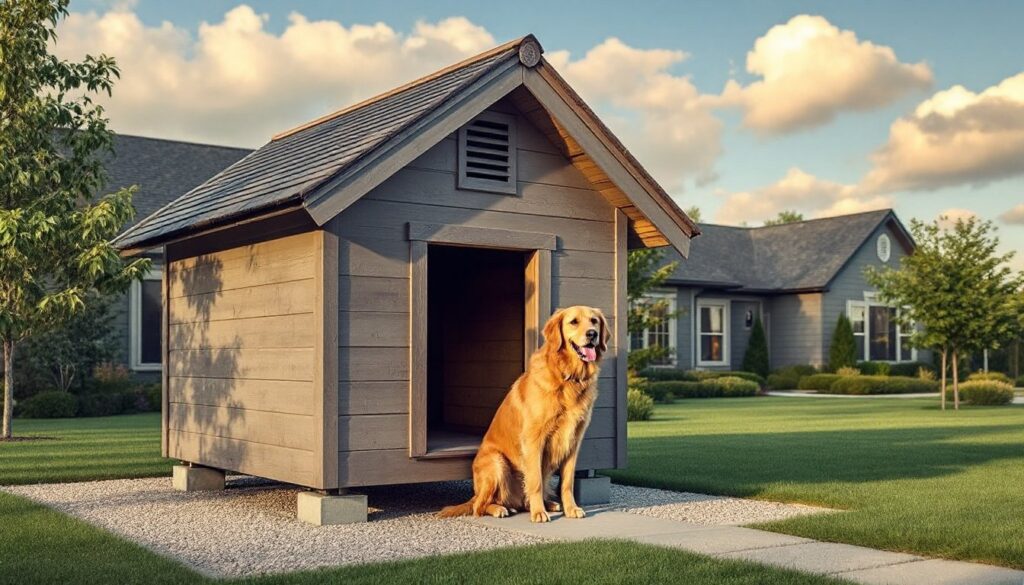
Style depends on your climate and your dog’s personality. Pitched roofs shed water and snow more effectively than flat roofs. Sloped floors with drainage holes prevent standing water and moisture buildup. Raised foundations (on small legs or a frame) keep the floor off wet ground and improve ventilation. These aren’t cosmetic choices: they’re durability decisions that extend your dog house’s life by years.
Budget-Friendly DIY Dog House Designs
Simple Wooden Plans for Beginners
The simplest dog house is a sturdy wooden box with a roof. You’ll need 2×8 or 2×10 lumber for the walls (actual dimensions: 1.5″ × 7.25″ or 1.5″ × 9.25″), 2×4s for framing (actual 1.5″ × 3.5″), and ½-inch exterior plywood for panels. Total material cost for a medium-size dog house typically runs $80–$150, depending on local lumber prices and whether you source pressure-treated wood (which resists rot better but costs more).
Start with five panels cut to size: two end walls, a front, back, and floor. Cut the entrance hole before assembly, a 4-inch hole for small dogs, 5-inch for medium. Use exterior wood screws (not nails: they hold better and allow adjustments) and assemble walls to the floor with 2.5-inch screws. Attach the roof as two pieces angled to a peak, creating an overhang on all sides for rain protection.
Finish with exterior-grade paint or wood stain. Avoid pressure-treated lumber for interior walls your dog will chew on: opt instead for cedar or redwood, which naturally resist insects and decay. Skip interior paint, dogs don’t need it, and it can off-gas. A coat of sealant on exposed wood keeps moisture out without toxins.
Beginner woodworkers will find detailed plans online. Free step-by-step woodworking plans with material lists are readily available to guide your build. Alternatively, Instructables provides illustrated DIY tutorials covering everything from basic boxes to elaborate designs.
Elevated and Insulated Options for Year-Round Comfort
Dogs in cold climates benefit from insulation. A raised dog house with 2-inch foam board insulation sandwiched between inner and outer walls keeps interior temperatures significantly higher when outdoor temps plummet. The entrance should face away from prevailing winds: a small covered porch or wind baffle reduces drafts.
Elevation matters too. Raise the floor 4–6 inches off the ground on pressure-treated joists or concrete piers. This airflow underneath prevents ground moisture and mold. In hot climates, ventilation beats insulation, cut high vents near the roof peak and low vents near the bottom to encourage passive cooling.
For extreme cold, add a hinged access panel on one side so you can clean out bedding and check for drafts. Line the floor with straw or cedar shavings (not sawdust, which compacts and holds moisture). Remove wet bedding promptly, it rots wood and sickens dogs.
Building codes vary by jurisdiction, but most residential backyards don’t require permits for a dog house. That said, check your local ordinances before you start, especially if your HOA has restrictions. A structurally sound dog house on your own property typically flies under regulatory radar, but it’s better to confirm than build and be told to move or remove it.
Modern and Aesthetic Dog House Designs
Matching Your Home’s Exterior Decor
A dog house doesn’t have to look like an afterthought. Modern designs echo your home’s architectural style. If you have a ranch with horizontal siding, build the dog house with matching horizontal boards and the same color palette. A cottage-style home pairs nicely with a pitched-roof dog house painted the same trim color as your shutters.
Materials beyond plain plywood elevate the look. Tongue-and-groove cedar boards cost more upfront but age beautifully to gray and resist rot naturally. Composite decking materials (plastic-lumber blends) require minimal maintenance and don’t splinter. Trim work, corner boards, roof trim, or a small railing, adds character without breaking the budget.
Color matters. Neutral tones (grays, soft greens, whites) blend with most landscaping and home styles. Bold colors (barn red, navy blue) make a statement but date faster. Consider painting the dog house the same color as your front door or garage trim for cohesion. Use exterior paint rated for wood, and plan for repainting every 2–3 years depending on climate.
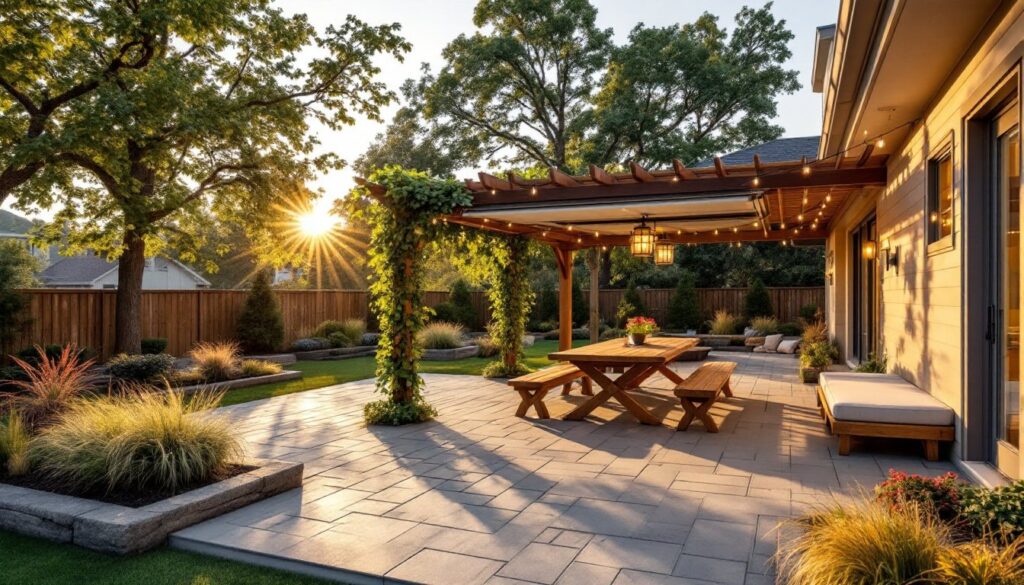
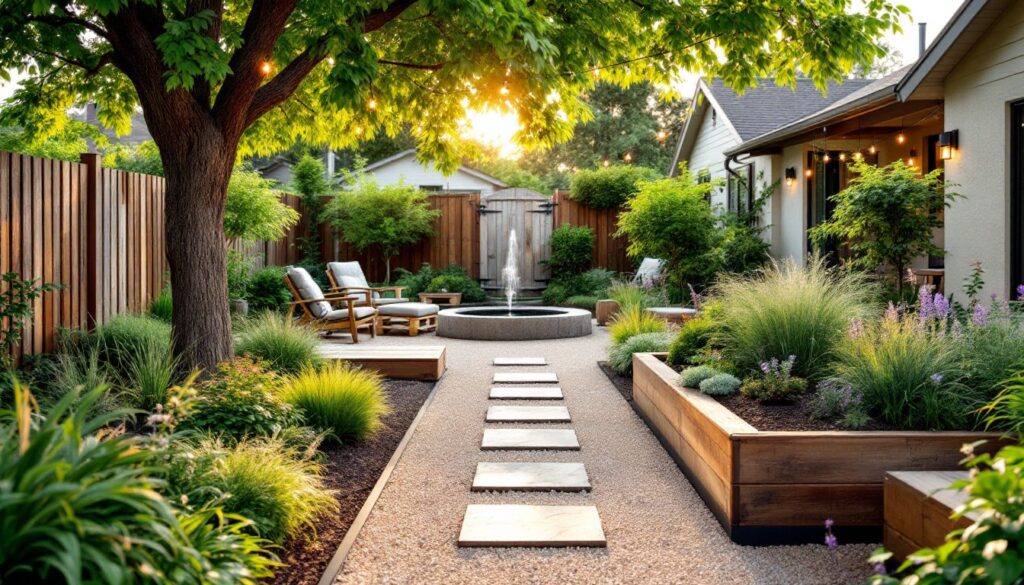
Combining a stylish dog house with broader backyard improvements is smart planning. Transforming your backyard with makeover ideas often includes rethinking every element, and a well-designed dog house fits naturally into the overall landscape. Even modest dog houses gain polish when positioned thoughtfully, tucked under a tree, screened partially by shrubs, or placed on a simple gravel pad that defines the area.
Materials, Ventilation, and Maintenance Tips
Wood selection is critical. Pressure-treated lumber resists rot but contains preservatives best kept away from your dog’s sleeping area. Cedar, redwood, or hemlock are naturally decay-resistant. Avoid treated plywood for interior walls. Exterior plywood (marked AC or BC grade) is water-resistant and suitable for roofing and sides. Untreated plywood deteriorates quickly and isn’t worth the cost savings.
Ventilation prevents moisture and mold. Drill ½-inch vent holes near the roof peak (heat rises, so upper vents let stale air escape). Create lower vents near the base for intake. In cold weather, avoid vents that face the entrance. A small overhang, even 4–6 inches, shields the entrance from horizontal rain.
Maintenance extends longevity. Inspect the floor twice a year for rot or damage. Check roof seams for leaks after heavy rain. Scrub the interior annually with a bristle brush and mild soap solution: let it dry completely before your dog returns. Repaint or reseal wood every 2–3 years depending on sun exposure and climate.
Climate specifics matter. In humid regions, mold is the enemy, ensure drainage, increase venting, and replace bedding frequently. In areas with heavy snow, a strong roof pitch and clean-out access prevent ice dams and blocked entrances. DIY project resources and workshop guides help you troubleshoot region-specific challenges.
Replacing the floor is the most common repair. If the original floor rots, unscrew and remove it, check the frame for damage, and fit a new pressure-treated ½-inch plywood floor (or opt for plastic composite for durability). It’s a two-hour job and costs $30–$60 in materials. Far cheaper and faster than replacing the entire structure.