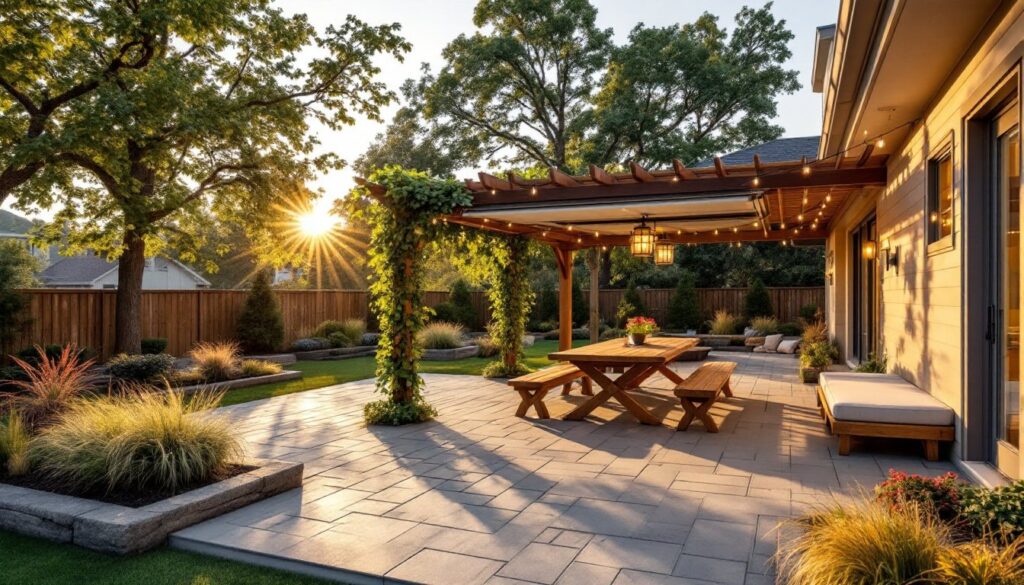

A concrete patio doesn’t have to look drab or feel temporary. Whether you’re working with existing concrete or pouring a new slab, there are proven techniques to elevate the appearance without the contractor’s price tag. This guide walks through practical, budget-friendly concrete patio ideas that deliver professional-looking results, from stamped finishes and stains to resurfacing and smart finishing touches. Homeowners on tight budgets can transform their outdoor space into an inviting retreat using materials and methods that are affordable, achievable, and surprisingly durable.
Table of Contents
ToggleKey Takeaways
- Stamped concrete creates the visual effect of expensive stone or pavers for a fraction of the cost, using rented tools and timing the application when concrete reaches the right moisture level.
- Concrete staining—either acid-based for durability or water-based for ease—transforms plain gray concrete into rich tones at $0.30 to $1.50 per square foot, making it a cost-effective alternative to paint.
- Concrete resurfacing with a thin cementitious overlay ($0.50–$1.50 per square foot) lets you repair damaged patios and apply stamping or staining without full replacement.
- Diagonal layouts and simple rectangular designs reduce material waste and labor costs, while smart joint placement prevents costly random cracking.
- Strategic finishing touches—budget furniture, grouped planters, and solar or string lighting—complete your backyard concrete patio idea without professional installation fees.
- Regular sealing every 2 to 3 years (costing $0.30–$0.60 per square foot) protects your investment and prevents expensive repairs, making maintenance the smartest budget move.
Stamped Concrete: Transform Basic Concrete With Affordable Textures
Stamped concrete creates the illusion of pavers, flagstone, or decorative tile without the labor-intensive installation. The process involves pressing rubber mats into wet concrete to emboss a pattern, then sealing the surface. For budget-conscious homeowners, this approach costs significantly less than laying actual stone while delivering visual impact.
If you’re resurfacing an existing patio, a concrete overlay (a thin layer of new concrete applied over the old) takes stamping well and costs less than demolition. Typical overlays run 1 to 2 inches thick. You’ll need to clean and prime the existing surface thoroughly, any loose material, algae, or debris will prevent proper adhesion.
For DIYers, stamping is challenging but doable with rented tools and patience. The trick is timing: you stamp when the concrete reaches the right moisture level, firm enough to hold the impression, not so dry it resists the imprint. Professional-grade concrete release agent (powder or liquid) prevents the mat from sticking. Seal the finished surface with acrylic or polyurethane sealer within 24 to 48 hours to protect the texture and enhance color. A single coat of standard concrete sealer runs $0.30 to $0.60 per square foot and lasts 2 to 3 years before reapplication.
Concrete Staining and Sealing for Maximum Visual Impact
Stains transform plain gray concrete into rich, warm, or earthy tones that look intentional and designed. Unlike paint, stains penetrate the surface and won’t peel or flake, making them a smarter long-term choice for outdoor patios.
Acid Stains vs. Water-Based Stains: Which Works Best
Acid stains (muriatic acid–based) react chemically with the concrete’s lime content, producing rich, mottled, often unpredictable colors, amber, rust, gray-green. They’re durable, fade-resistant, and bond permanently. Downside: they require careful safety precautions (goggles, gloves, respirator, proper ventilation), can be messy, and produce strong odors. Cost runs $0.50 to $1.50 per square foot.
Water-based stains are acrylic or polyurethane dispersions that sit atop the surface. They’re easier to apply, have minimal odor, and come in consistent colors (reds, grays, blues, greens). They’re less durable than acid stains, lasting 3 to 5 years before fading or wearing in high-traffic areas. Cost: $0.30 to $0.75 per square foot.
Before staining, the concrete must be clean, dry, and free of sealers or coatings. Pressure wash at 3000 PSI minimum, let dry for 48 hours, and etch the surface with mild acid or a concrete etching product to open the pores. For acid stains, follow label instructions precisely and neutralize with baking soda and water after the stain dries. Both stain types benefit from a topcoat sealer applied 24 to 48 hours later for protection and sheen.
DIY Concrete Resurfacing: Refreshing an Old or Damaged Patio
If your patio has minor cracks, spalling, or shallow damage, resurfacing beats replacement. Concrete resurfacer is a thin, cementitious coating (1/4 to 1 inch thick) applied over old concrete. It bonds to the existing surface and can be stamped, stained, or sealed, essentially giving you a new top layer.
Start by assessing damage: hairline cracks (under 1/4 inch wide) are cosmetic and can be sealed or filled with caulk. Larger cracks or spalling (surface pitting or chunks missing) need repair before resurfacing. Use a concrete chisel and hammer to undercut crack edges, this helps filler lock in, then vacuum out debris. Fill cracks with concrete crack filler or sealant, allow to cure per manufacturer specs (usually 24 hours), then sand smooth.
For the resurfacer itself, clean and dampen the patio (not soaking wet), apply a concrete bonding agent per instructions, then mix the resurfacer powder with water to the consistency of pancake batter. Spread with a straight edge or broom in sections, working quickly before it sets. Concrete resurfacers set in 2 to 4 hours and cure fully in 24 to 48 hours, depending on brand and weather. Cost: $0.50 to $1.50 per square foot for materials. This method works best on patios under 300 square feet: larger areas benefit from professional help due to the physical demands and setting speed.
Budget Patio Layout and Design Tips for Smaller Spaces
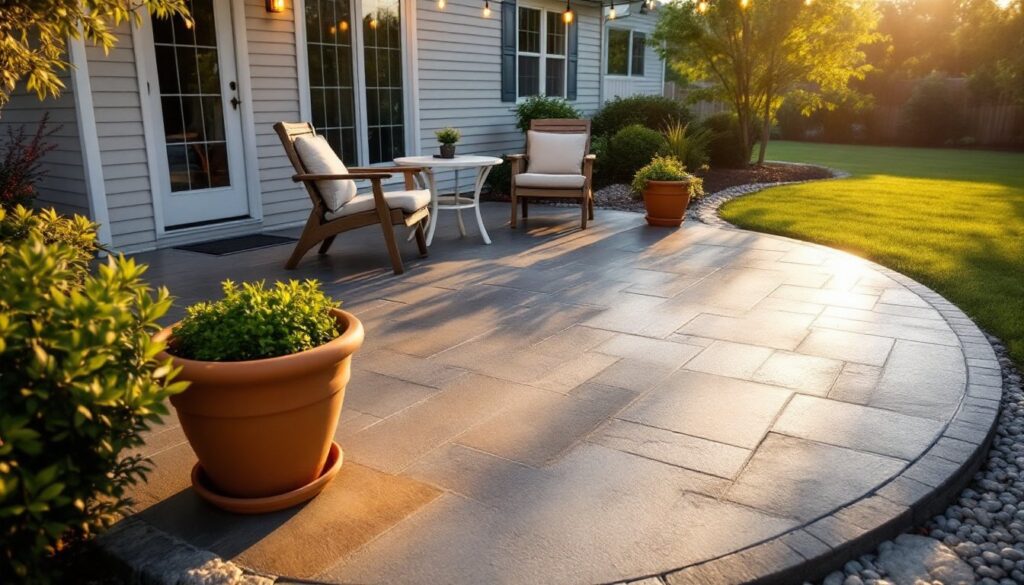
Smart layout maximizes the perceived size and usability of a modest patio without material waste. Diagonal layouts (concrete poured or laid at 45 degrees to the house) visually expand narrow patios. If you’re pouring concrete, marking this angle with chalk lines before the pour prevents costly mistakes.
Keep the perimeter simple to reduce waste and labor. A 12-by-16-foot rectangular slab is more efficient (and cheaper) than L-shaped or multi-level designs that require extra formwork and concrete. Accent areas, a small stamped section near seating, a stained border, add visual interest without full-patio costs.
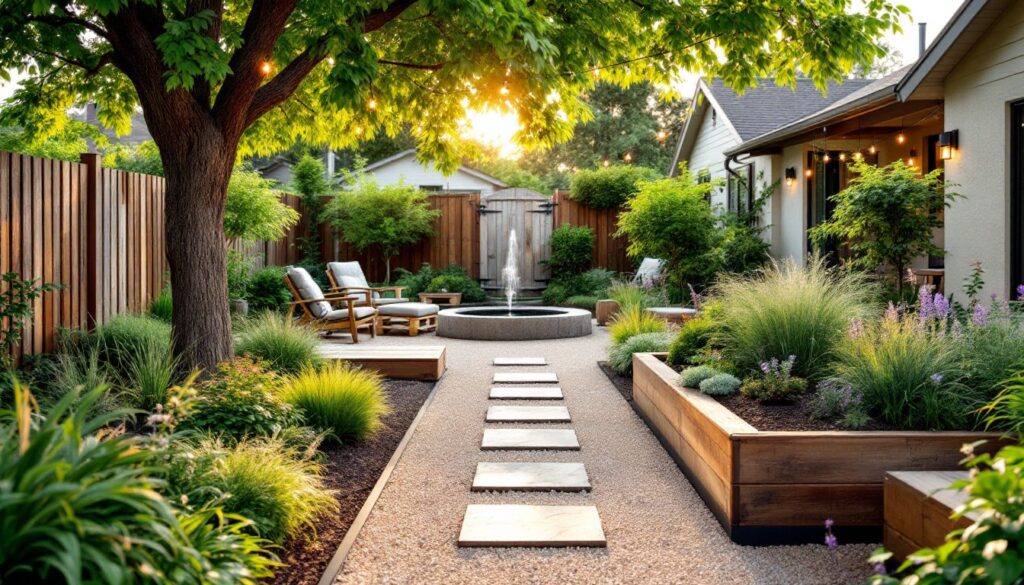
Joint placement matters too. Standard practice is a control joint (a shallow, deliberate cut) every 4 to 6 feet in both directions to direct cracks and prevent random cracking. These are functional but visible: incorporate them into a purposeful pattern if budget allows for that detail. For a 10 Creative DIY Backyard approach, consider a small patio paired with pavers, gravel, or planted borders to define zones without expensive concrete expansion.
Adding Finishing Touches: Furniture, Plants, and Lighting on a Budget
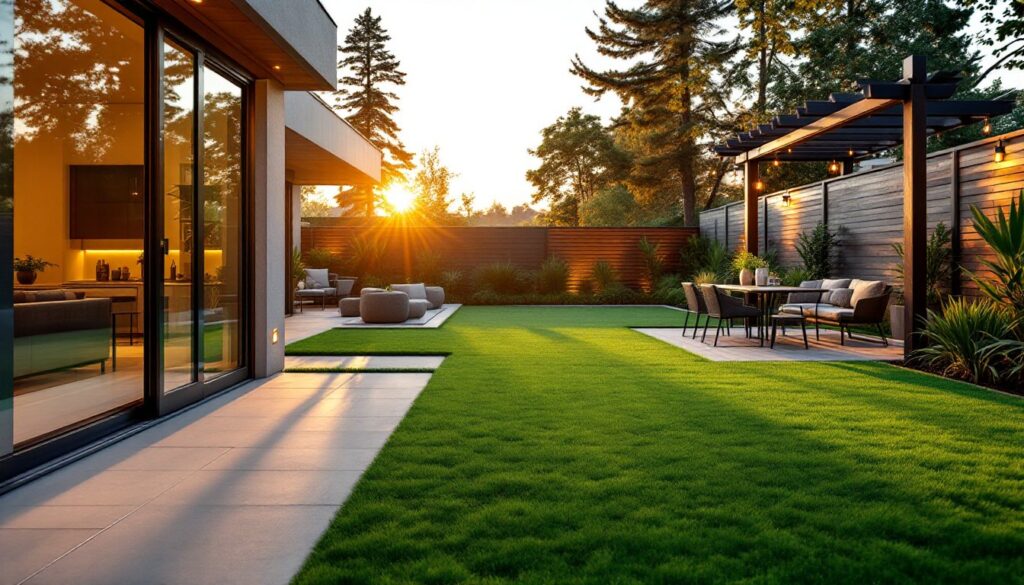
Once the patio surface is solid, finishing touches elevate the space affordably. Strategic furniture placement creates zones and makes smaller patios feel intentional. Budget picks: weather-resistant wood or metal frame chairs from discount retailers, a simple bistro table, or a DIY bench from treated lumber (2-by-10s and 4-by-4s bolted together).
Plants break up concrete hardscape and add color. Planters in clusters (odd numbers read better visually) grouped at corners or against the house are more impactful than scattered pots. Potting soil is cheaper than landscape gravel, and seasonal swaps keep the look fresh for minimal cost.
Lighting transforms a patio’s evening appeal. Solar path lights ($1–3 each) line edges: string lights overhead ($20–50 for a basic set) create warmth and define the space. No electrical work, no permits, and easy to relocate. A Transform Your Backyard Patio design becomes functional through sunset with thoughtful lighting placement.
Weatherproof a patio’s appeal with regular sealing. Most concrete sealers last 2 to 3 years: reapply seasonally or as water stops beading on the surface. This prevents algae, extends the life of stains or stamps, and is the cheapest insurance against costly repairs. Research from HomeAdvisor shows annual maintenance adds only $100–$300 to a patio’s lifespan cost.
Conclusion
Building a professional-looking concrete patio on a budget comes down to smart material choices, thorough prep work, and honest assessment of skill level. Stamping, staining, resurfacing, and strategic finishing touches each offer return on investment without contractor markup. Start with the surface, don’t skip sealing or maintenance, and layer on style incrementally. The result is an outdoor space you’ve earned through effort and planning, not just expense.