
A fence defines your property line, but it doesn’t have to define your style in a boring way. Whether you’re working with a weathered wood fence, vinyl panels, or chain-link, the space directly along it is prime real estate for upgrading your backyard‘s visual appeal and functionality. The right border treatment, from planted beds to hardscape edging to lighting accents, can turn a plain fence into a polished garden feature. This guide covers practical, budget-conscious ideas homeowners can tackle themselves, plus honest guidance on when to bring in help.
Table of Contents
ToggleKey Takeaways
- Backyard fence border ideas range from planted beds and hardscape edging to lighting and structural enhancements that transform a plain fence into a polished garden feature.
- Start with proper prep work—clear weeds, amend soil with compost, and maintain 6 inches of clearance between soil and fence to prevent moisture damage and rot.
- Hardscape edging like brick, pavers, metal, or plastic creates crisp lines between lawn and garden while reducing trimming time at minimal cost ($0.50–$6 per linear foot).
- Low-growing shrubs and hedges provide natural framing and privacy; space them according to mature width and prune annually to maintain dense, attractive shapes.
- Fence maintenance—including power washing, painting, or staining—is a cost-effective upgrade that pays dividends in curb appeal and lasts 3–7 years depending on product choice.
- Solar path lights and LED rope lights add nighttime ambiance and security to your fence border without requiring expensive wiring or permits.
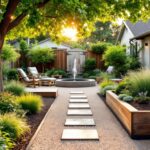
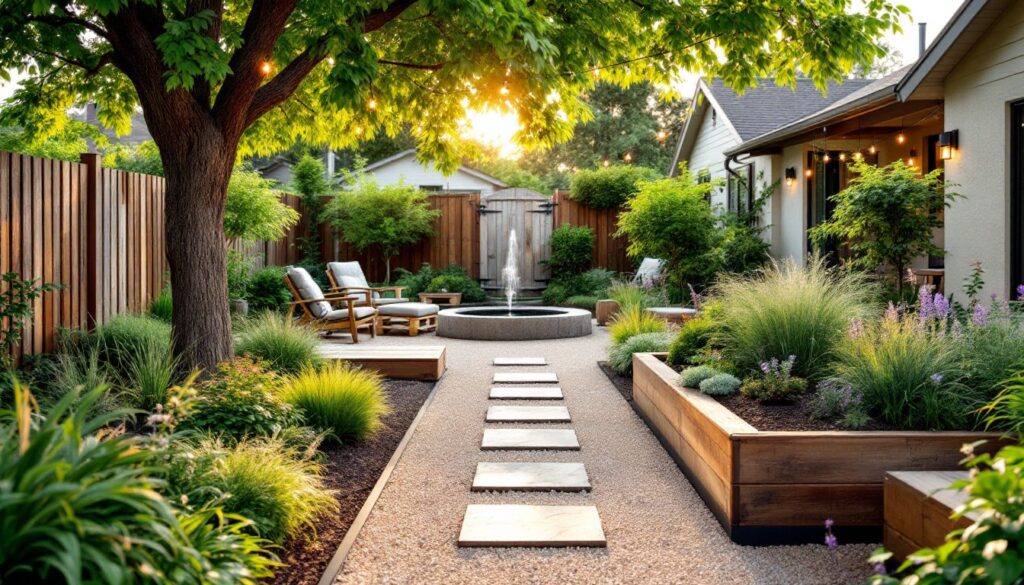
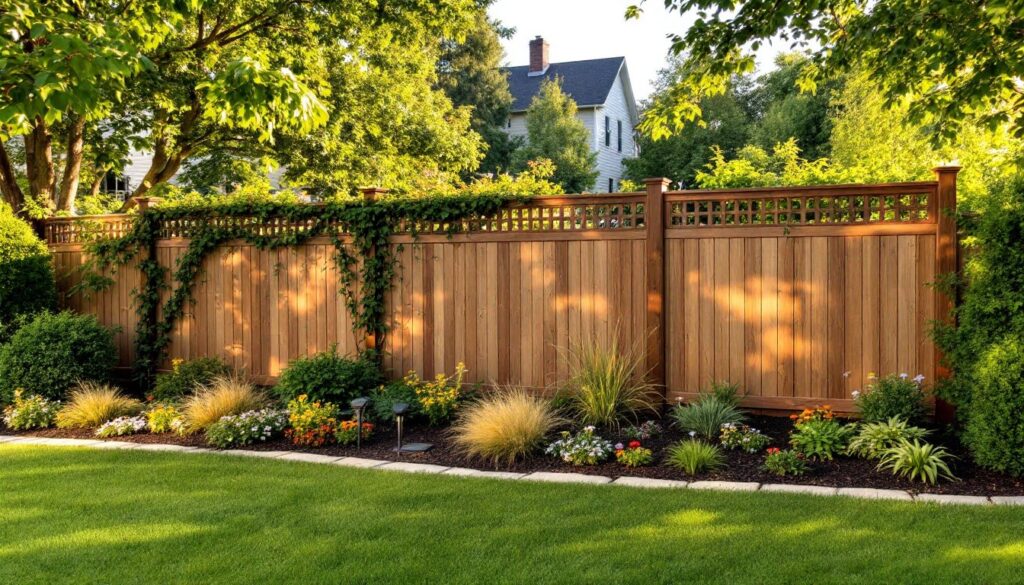
Garden Beds and Plantings Along Fence Lines
A planted border is often the most forgiving border solution because plants soften hard lines and add color year-round. Start by clearing the area along the fence of weeds, debris, and old landscape fabric, neglecting this step is the fastest way to watch new plantings fail. Most fence-line gardens work best with a 2–4 foot depth, giving plants room to mature without overwhelming the space.
For sunnier exposures, consider perennials like coneflowers, black-eyed Susans, or ornamental grasses. In shaded areas under mature trees or on the north side of the fence, hostas, ferns, and astilbe thrive. If you’re planting near a vinyl or treated wood fence, avoid placing soil directly against the base, leave at least 6 inches of clearance to prevent moisture buildup and wood rot. When installing beds, use amended topsoil mixed with compost: standard fill dirt won’t support healthy root systems.
Raised beds offer better drainage and easier weeding if your soil is clay-heavy or compacted. A simple 4×8 foot bed built from untreated cedar or pressure-treated lumber (2×10 or 2×12 boards screwed together at the corners) gives you more control over soil quality and keeps plants further from the fence. Line the interior with landscape fabric if pests are an issue in your area, but ensure water can still drain through.
Hardscape Edging Options for Clean, Defined Borders
Hardscape edging creates a crisp line between lawn and garden, and it cuts down on trimming time. The simplest option is a plastic or metal landscape border, which sits half-buried and keeps mulch contained while remaining hidden from view. Expect to pay $0.50–$2.00 per linear foot depending on material quality: thicker plastic and galvanized steel last longer than thin PVC.
If you want the edging to be a visible design element, brick, pavers, or natural stone offer durability and a finished appearance. You can lay these edge-on (standing upright for a 4–6 inch border) or flat for a flush transition. Proper installation matters: dig a shallow trench, set stones on 1 inch of sand for settling, and check that the top surface is level before backfilling. Natural stone can shift over freeze-thaw cycles in cold climates, so ensure proper base preparation.
Metal and Composite Edging Materials
Metallic edging, galvanized steel, aluminum, or copper, adds a contemporary touch and holds up well in most climates. Copper develops a natural patina over time, which some owners love and others want to avoid (clear-coat sealant prevents patina). These materials resist rot and don’t compress under mower wheels like plastic does, making them ideal for lawn-adjacent borders. Installation is straightforward: stake the edging into the ground with fasteners provided, ensuring it’s level and tight against the soil line.
Composite materials like recycled plastic-wood blends offer the look of wood without rot concerns, though they’re pricier ($3–$6 per linear foot) and can soften in intense summer heat. They work best in partial shade or climates with moderate temperatures. Hardscaping design principles apply regardless of material, keep proportions balanced, choose a single material type to avoid a cluttered look, and ensure drainage slopes slightly away from your fence.
Low-Growing Shrubs and Hedges for Natural Framing
Living borders made from low-growing shrubs create structure and privacy while looking far more refined than bare fence. Choose species suited to your hardiness zone and light conditions. Boxwood hedges are classic and fine-textured, though they can take several years to fill in. In zones 5–9, dwarf hinoki cypress, privet, or viburnums establish quickly and tolerate light to moderate shade.
For a more informal feel, spirea, potentilla, and barberry (especially purple cultivars) provide color texture without the maintenance of formal hedging. Most require trimming once or twice yearly to maintain shape: annual pruning in late winter before new growth promotes dense branching. Don’t wait to prune, shrubs allowed to grow gangly are harder to reshape. Landscaping designs that incorporate mixed plantings often rely on varied plant heights and textures to create visual interest along the fence line.
When planting shrubs, space them according to mature width (usually 18–36 inches apart depending on species). Closer spacing fills in faster but may crowd the fence and restrict air flow, inviting fungal issues. Mulch to 2–3 inches around the base, keeping it 6 inches away from the stem to prevent collar rot. Water deeply during establishment (first year), then taper as plants mature unless you’re in a drought-prone region.
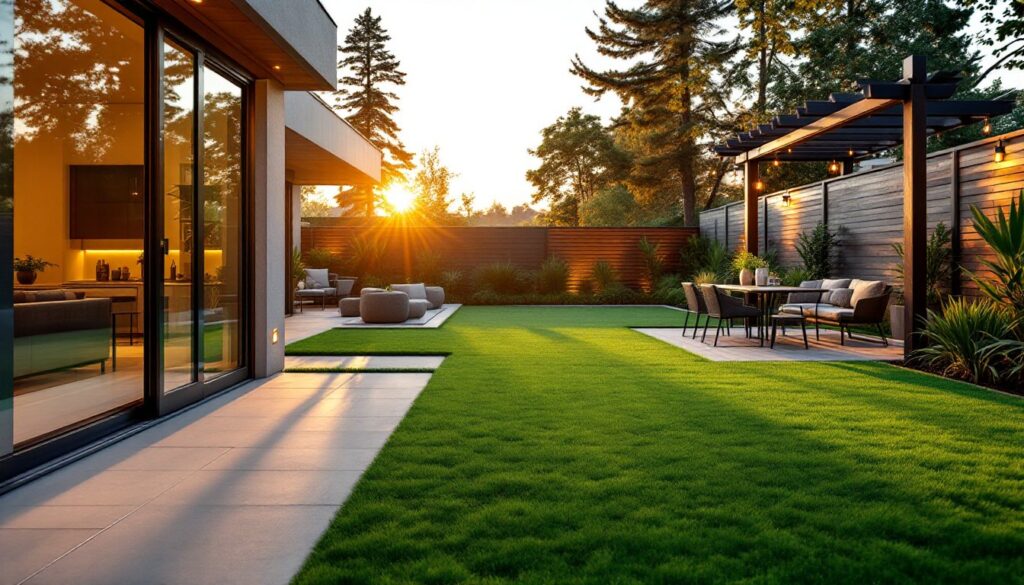
Decorative Fencing Enhancements and Color Treatments
The fence itself is the backbone of your border aesthetic. Well-maintained, freshly painted or stained fencing instantly elevates the entire yard. Before any finish work, inspect for damage, cracked boards, loose fasteners, or soft spots from rot, and repair or replace as needed. Rotted sections won’t accept stain or paint and will spread decay if left untreated.
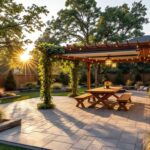
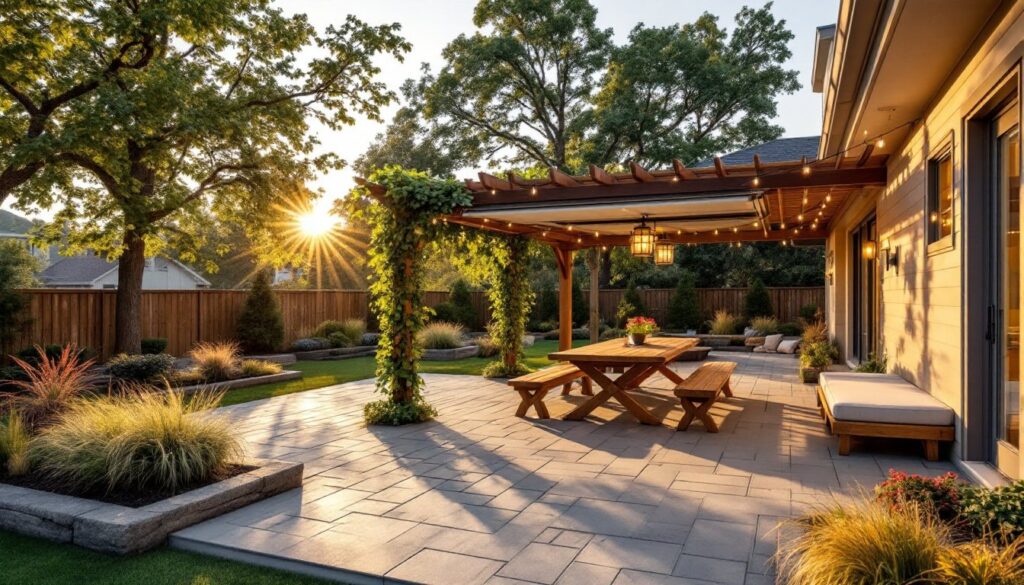
Fencing upgrades don’t require replacing the entire structure. Adding lattice panels to the top of a solid fence creates a trellis effect for climbing vines, increasing visual height without privacy loss. Installing a horizontal trim board at the base (a 1×6 or 1×8 treated board) creates a finished look and protects the fence from splash-back and ground moisture. For chain-link fences, weaving privacy slats (vinyl or metal strips threaded through the mesh) transforms the look from utilitarian to landscaped.
Painting and Staining Your Fence
Paint and stain are your best investments in refreshed fence appeal. A well-executed fence makeover costs far less than replacement and pays dividends in curb appeal. Prep work is 80% of the job: power-wash the fence at 1,500–2,000 PSI to remove dirt and loose finish, then let it dry completely (at least 48 hours in dry weather). Sand any rough spots, and fill gaps between boards with paintable caulk if you want a polished finish.
Exterior-grade paint offers bold, opaque color: latex (water-based) is easier to work with and dries faster than oil-based, though oil-based finishes typically last longer (5–7 years vs. 3–5). Stain (semi-transparent or solid) lets wood grain show through, aging naturally over time: exterior-rated wood stains penetrate the surface rather than coating it, reducing peeling and flaking. Apply two coats with a roller or brush in mild weather (50–85°F, low humidity) following product directions. A comprehensive fence painting guide covers color psychology, product selection, and troubleshooting common application mistakes. Your choice of color sets the tone: neutral grays and blacks feel modern, warm browns suit traditional homes, and bold hues (dark green, deep charcoal) create focal points without appearing garish.
Lighting and Functional Accessories Along Fence Borders
Lighting transforms a border zone into a welcoming nighttime destination and improves security. Solar path lights are the easiest DIY option, no wiring, no permits, and they’re affordable ($10–$30 each). Space them 4–6 feet apart along the fence line, pushing stakes fully into soft ground for stability. Replace solar panels every few years as they degrade.
LED rope lights or strip lights mounted along the top of the fence or along a fence-base trim board create ambient glow: most run on low-voltage power supplies that plug into a standard outlet. For wired installations, consult local electrical codes or hire a licensed electrician if you’re running line-voltage (120V) circuits, this often requires permits and professional installation depending on your jurisdiction. Some municipalities classify any permanent exterior lighting as a code requirement, so check with your local building department before diving in.
Beyond lighting, consider practical additions: horizontal cable railing fastened to fence posts creates an open, modern look and gives climbing plants a sturdy trellis without blocking sightlines. Planter boxes mounted on fence rails add pops of seasonal color while freeing up ground space. Hooks and brackets for hanging baskets or bird feeders personalize the border and invite wildlife. Backyard upgrades on a budget often combine low-cost lighting and small accessories with major plantings to maximize visual impact. Weather-resistant furniture, benches or small seating, tucked against the fence creates inviting vignettes. Prioritize anything that’s exposed to standing water (rope lights, painted trim, metal hardware) with rust-resistant finishes and periodic inspection to extend lifespan.
Getting Started: Planning Your Fence Border
Your fence border doesn’t have to be a one-day miracle. Most homeowners benefit from tackling projects in phases: year one might be planting and edging, year two adds paint or stain, and year three brings in lighting or structural upgrades. Choose plantings suited to your microclimate, clear away weeds and compacted soil before installation, and never skimp on prep work. A well-planned, thoughtfully maintained fence border elevates your entire yard and often costs far less than a major renovation. Start with what excites you most, whether that’s color, greenery, or ambient evening light, and build from there.