Your backyard is often the most underutilized room in your home. Whether you’ve got a sprawling acre or a modest urban lot, the right backyard setup ideas can transform dead space into a functional, inviting extension of your living area. This isn’t about expensive renovations or hiring contractors, it’s about strategic planning and smart DIY choices that match your lifestyle. From creating cozy seating zones to building garden beds, the following seven practical ideas will help you design a backyard that works as hard as you do, whether you’re entertaining, relaxing, or growing your own food.
Key Takeaways
- Strategic backyard setup ideas transform underutilized outdoor space into functional zones for relaxation, entertaining, and gardening without expensive renovations.
- Create a dedicated relaxation zone with weather-resistant seating, an 8×10 foot minimum footprint, and shade structures like pergolas ($200–$600) to establish a comfortable retreat.
- Install outdoor entertainment with a weather-resistant TV (2,000+ nits brightness), outdoor speakers, and GFI-protected outlets to safely extend your living area.
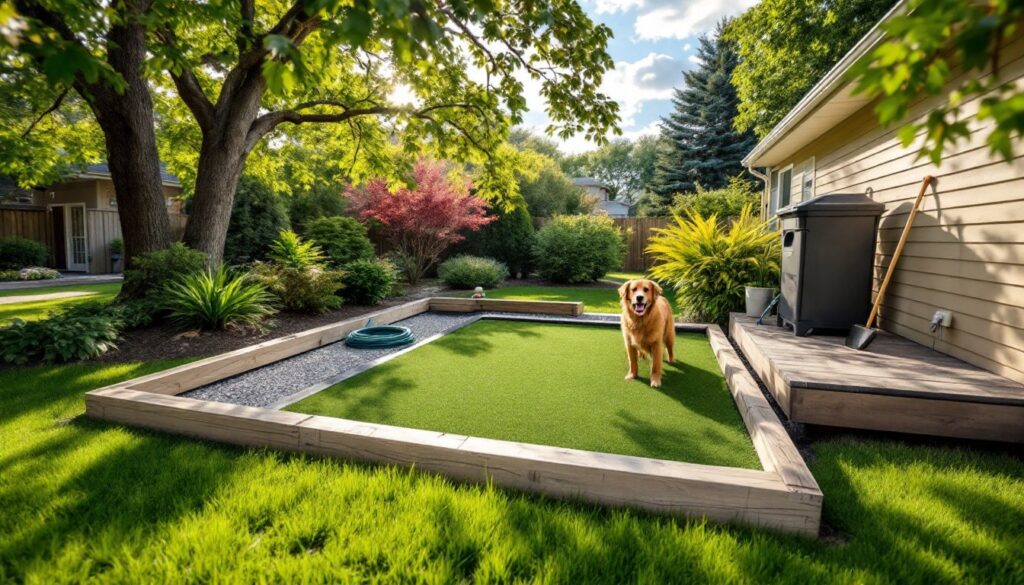
- Raised garden beds (4×8 feet with untreated cedar) and soaker hose systems reduce water waste by 50 percent while adding structure and food productivity to your yard.
- Layer three types of lighting—ambient, task, and accent—using low-voltage LED landscape lights and string lights to transform evening functionality and set the mood.
- Prioritize one or two focal zones in small spaces, use vertical storage and light colors to visually expand tight areas, and sketch layouts on graph paper before purchasing materials.
Create a Relaxation Zone With Comfortable Seating
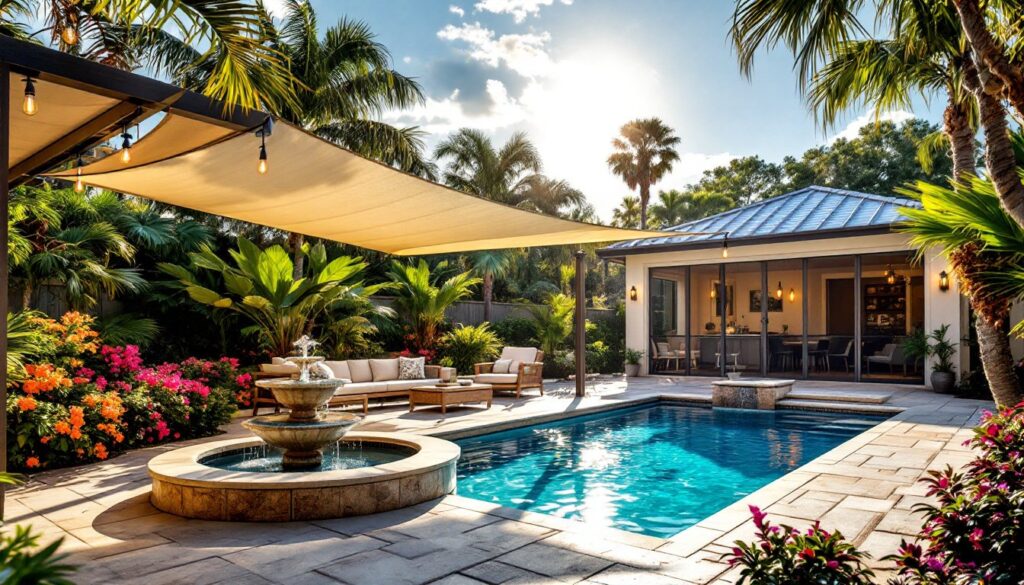
The foundation of any backyard setup is a dedicated relaxation area. Start by choosing a level spot, preferably one that catches afternoon shade or morning sun, depending on your climate. A simple setup requires weather-resistant seating: adirondack chairs, a bench, or an outdoor sectional rated for your region’s humidity and UV exposure.
Measure your space carefully. Most lounging areas need a footprint of at least 8 feet by 10 feet to avoid feeling cramped. Add a low table (18–24 inches high) for drinks and books. This doesn’t need to be fancy: a weathered wood table or composite material will outlast cheaper alternatives in damp climates.
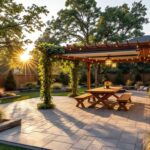
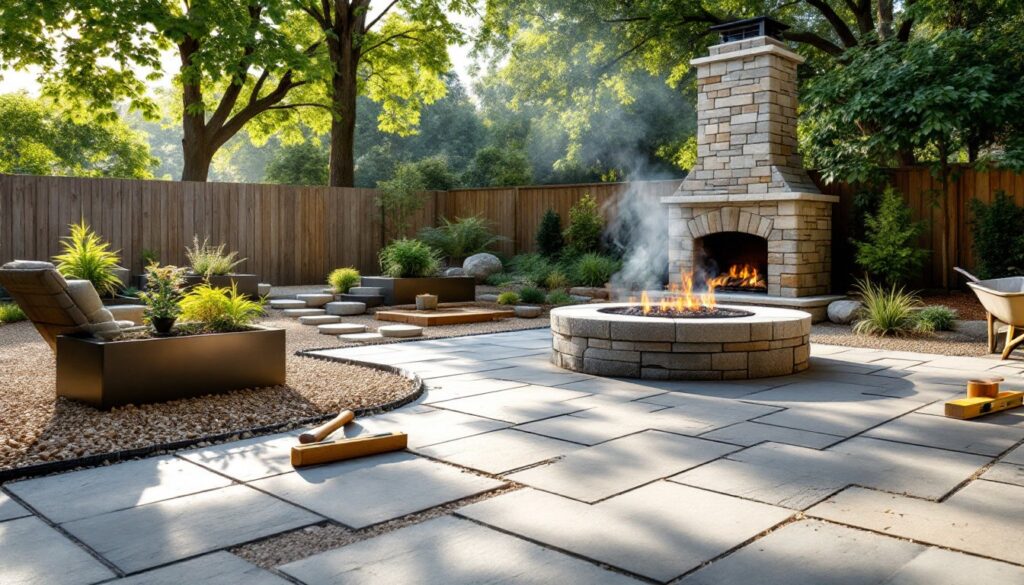
Consider a pergola or shade sail overhead if your yard lacks trees. A 4×8 foot pergola kit runs $200–$600 depending on material and can be installed in a weekend with basic tools (circular saw, drill, level, measuring tape). Secure it properly with concrete footings, this isn’t cosmetic work: wind load is real. Many jurisdictions require a simple permit for structures over 100 square feet: check your local building department first.
Layering textures makes the space feel intentional. Add outdoor cushions (water-resistant fabric), a weather-proof rug, and maybe a fire pit or low-voltage landscape lights nearby. This zone should feel separate from the rest of your yard, signaling “this is where you rest.”
Install an Outdoor Entertainment Hub
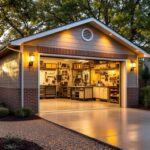
If you entertain regularly, a dedicated entertainment zone pays dividends. This setup typically includes a TV, sound system, and weather-resistant outlet access. Start by identifying a wall or structure where mounting is feasible, a garage wall, fence, or shade structure all work, but must be rated for outdoor use.
Outdoor TVs are built differently from indoor models: their brightness (2,000+ nits) cuts glare and their sealed design handles temperature swings. Budget $800–$2,000 for a quality 55–65 inch unit. Mount it securely at eye level when seated, roughly 4 feet high for standard seating positions. Use stainless steel hardware and waterproof outlet covers throughout.
Audio is crucial. Built-in TV speakers rarely fill outdoor space adequately. Outdoor speakers install can transform the experience: weatherproof models hidden in planters or mounted on pergolas provide better coverage than a central speaker. Hire a licensed electrician if running new circuits, outdoor wiring must be buried at least 12 inches below grade or in conduit, per NEC codes.
Include a small prep table or cart for drinks and snacks. Build one from treated lumber if you’re comfortable with basic carpentry, or buy a ready-made outdoor cart. Seal everything with exterior-grade stain or paint: bare wood rots fast in humid climates. Consider a ceiling fan mounted to a covered structure to keep bugs at bay and air moving during warm months.
Build Garden Beds and Landscaping Features
Raised garden beds add structure, productivity, and visual interest to any backyard. A standard bed measures 4 feet by 8 feet by 12 inches deep, a size that’s easy to build and work from all sides without stepping into the soil. Use untreated cedar or composite lumber: treated lumber can leach chemicals into soil where you’re growing food.
Frame construction is straightforward. Cut your boards to length, drill pocket holes or use exterior-rated corner brackets, and assemble on a level surface. Place landscaping fabric in the bottom to prevent weeds, then fill with a mix of topsoil, compost, and aged manure. This blend drains well and feeds plants for the first season.
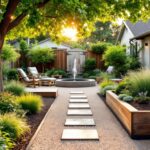
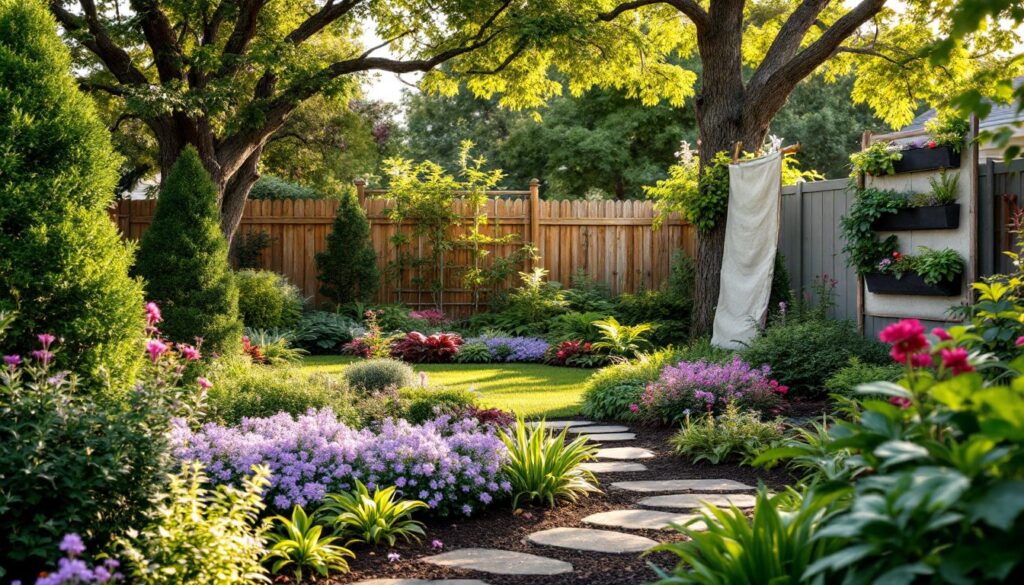
Backyard Landscaping Designs: Transform your space by adding curved planting beds, mulched pathways, or rock features. Curved lines feel more natural than rigid rows and make small yards feel larger. Mulch (2–3 inches deep) suppresses weeds and retains moisture: refresh it annually.
If you’re starting from scratch, sketch a simple layout on paper first. Place tall plantings (shrubs, small trees) on the north side so they don’t shade lower plants. Install a soaker hose system buried 2 inches under mulch for efficient watering, this is far easier than hand-watering daily. Most systems cost $30–$80 and reduce water waste by 50 percent. Layer in low-maintenance perennials, ornamental grasses, and native plants suited to your climate zone to minimize upkeep.
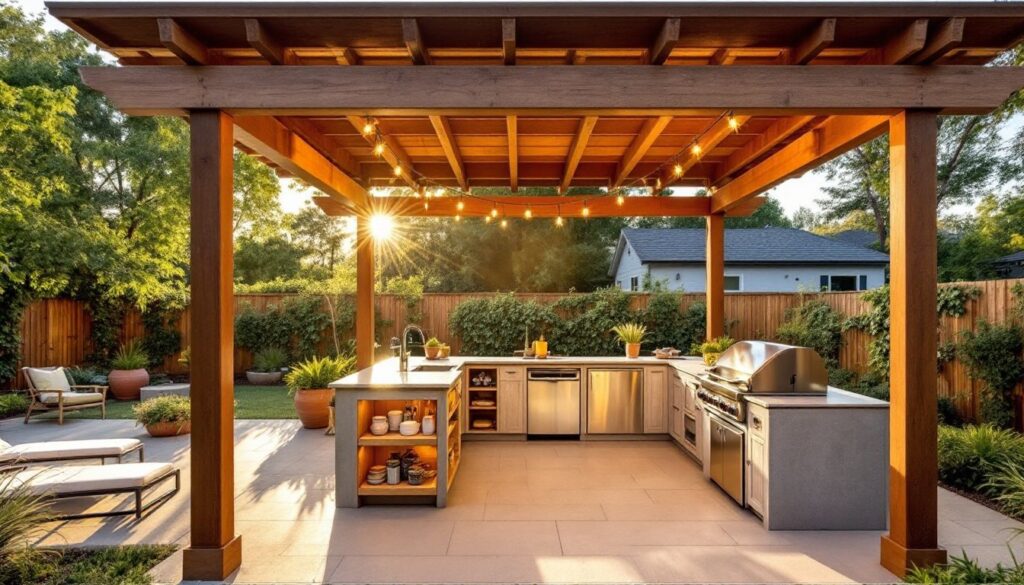
Design a Functional Dining Area Outdoors
An outdoor dining zone extends your entertaining capacity and creates a natural gathering spot. The setup needs a stable table, seating for 4–8, and a food prep or service area nearby. Choose a sheltered location, not directly under trees where leaf debris lands on food, and preferably with some afternoon shade.
Table sizing matters. A standard dining table for six is 3 feet by 5 feet: add 2–3 feet on each side for chairs and movement. Teak, composite decking, or concrete work well outdoors. A simple concrete pad poured on level ground creates a permanent foundation: it’s worth hiring a contractor for this if you’re not experienced, as settlement or uneven surfaces cause wobbling and food spills.
For seating, mix comfort and durability. Outdoor dining chairs should have removable cushions (washable covers) or be treated wood that can weather gracefully. Set a table with a large market umbrella (9–11 feet diameter) anchored in a weighted base, wind won’t tip it if properly ballasted. Umbrellas cost $150–$400 and last 5–7 years with care.
10 Creative DIY Backyard projects like building a serving cart from treated lumber or a simple open-sided shade structure add function. A 4×4 post pergola ($300–$600 in materials) provides shade while food stays visible and accessible. Install GFI outlets within 6 feet for a small outdoor refrigerator or warming tray: this requires a licensed electrician if running new circuits. Keep the zone clutter-free and clean: a small side table for dirty dishes keeps the dining area feeling open.
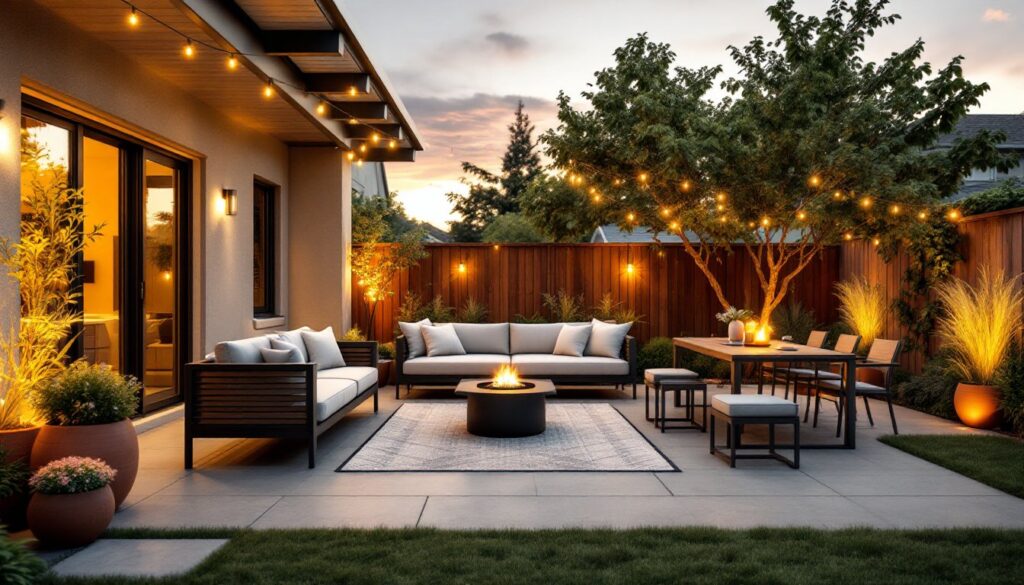
Add Lighting and Ambiance Elements
Outdoor lighting transforms how your yard functions after sunset and sets the mood for evening gatherings. Layer three types of lighting: ambient (overall illumination), task (focused light for cooking or reading), and accent (mood-setting highlights).
Low-voltage LED landscape lights (<:12 volts) are safest for DIY installation. Bury cables 6 inches deep in conduit, run them from a transformer plugged into a GFI outlet, and space lights 3–4 feet apart along pathways and beds. These cost $15–$40 each and use minimal power. String lights overhead between posts or trees add warmth: Solar-powered options avoid wiring but deliver dimmer light.
For task lighting, uplight trees to create depth, or install deck-level lights for evening dining. String Edison bulbs overhead create Instagram-worthy ambiance but draw more power, budget 100 watts for 10–15 bulbs. Use a timer or smart switch so you’re not leaving them on accidentally.
Maximize Small Spaces With Smart Layouts
Tight quarters demand ruthless prioritization. Choose one or two focal zones rather than spreading thin. A small seating nook (8×8 feet) with a pergola and two chairs feels complete, whereas tiny scattered features feel chaotic. Vertical storage, wall-mounted tool racks, trellises with hanging planters, doubles usable space without eating floor area.
Use light colors (pale wood, white trim, light stone) to visually expand tight spaces. Mirrors mounted on fences bounce light around. A narrow garden path winding through beds makes a small yard feel longer. Avoid large furniture: choose a modest table and café-style chairs instead of an oversized sectional. Transform Your Space: Inspiring your layout by drawing it to scale on graph paper first, testing furniture placement before buying. This five-minute step saves hundreds in returns and regrets.
Conclusion
A well-designed backyard setup doesn’t require unlimited budget or professional contractors, it requires thoughtful planning and honest labor. Start with one or two zones, build them properly, and expand over seasons. Measure twice, use appropriate materials for outdoor exposure, and don’t skip prep work or permits. Your future self, relaxing under a pergola with friends gathered around a sturdy table, will thank you for the investment.