
Stone has become the go-to material for homeowners and DIY enthusiasts looking to elevate their outdoor spaces. Whether you’re installing a new patio, building a fire pit surround, or creating garden pathways, stone offers durability, aesthetic appeal, and surprisingly accessible installation options for DIYers. This guide covers 20 practical backyard stone ideas, from patios and walkways to water features and landscaping elements, with honest advice on materials, tools, and what you can tackle yourself versus when to call a pro. Let’s transform that backyard into something you’ll actually use.
Table of Contents
ToggleKey Takeaways
- Stone is a durable, low-maintenance material that outlasts wood and concrete by decades, making it ideal for backyard stone projects in any climate.
- Backyard stone ideas range from beginner-friendly stepping-stone paths and pea gravel edges (costing $2–4 per sq ft) to intermediate mortared patios and fire pit rings that require more skill and planning.
- Proper base preparation with compacted gravel, sand, and correct slope for drainage is essential—it’s the difference between a patio lasting 10 years or 40 years.
- Always check local building codes and permits before starting stone projects, especially for fire pits, retaining walls, and water features, to avoid costly rework.
- Invest in quality tools like a wet saw rental, rubber mallet, and proper safety gear (dust masks, gloves, eye protection) to complete projects efficiently and protect your health from silica dust.
Why Stone Is The Perfect Material For Backyard Projects
Stone outlasts wood, composite, and most concrete alternatives by decades when properly installed. It’s freeze-thaw resistant in cold climates (though base preparation matters), doesn’t splinter, won’t rot, and actually improves in appearance as it ages and weathers. Unlike pressure-treated wood or vinyl, stone requires no staining, sealing (for most types), or regular repainting.
From a DIY perspective, stone projects demand patience and precision rather than advanced carpentry. You’ll need proper tools, a chisel, rubber mallet, level, and safety gear, but the learning curve is manageable. Most stone mistakes are caught before they harden, giving you room to correct placement and alignment.
Cost varies wildly by region and stone type. Local bluestone runs $6–15 per square foot installed: imported slate climbs higher. Gravel and pea stone cost $2–4 per square foot, making budget-friendly pathways realistic. Backyard makeovers on a budget don’t require designer stone, they require smart choices about where to invest.
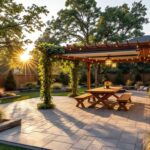
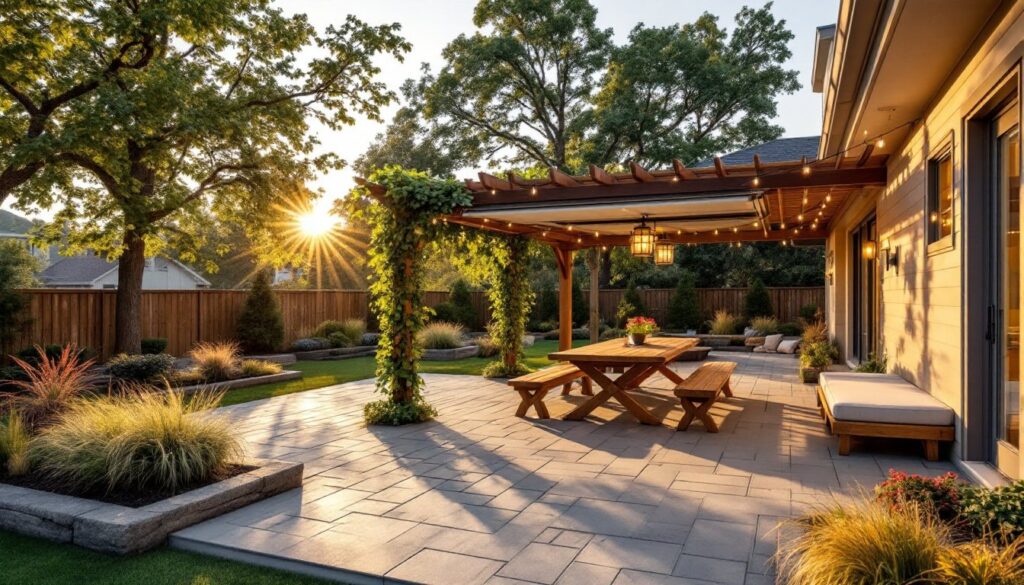
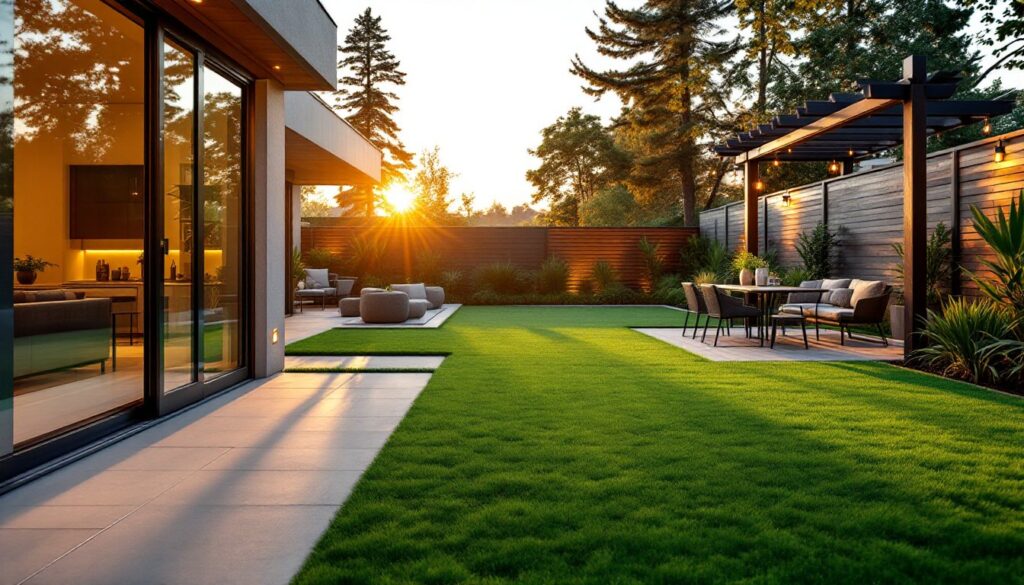
Patio And Deck Stone Options For Every Style
Pavers, Flagstone, And Slate Selections
Pavers are engineered, uniform stones (typically 2–4 inches thick) that sit in a sand base. They’re straightforward to install yourself and come in concrete, clay, or stone varieties. Concrete pavers run $5–10 per sq ft: permeable pavers (which let water drain through) cost slightly more but solve drainage headaches.
Flagstone is irregular, naturally split stone, often slate, bluestone, or sandstone. Each piece is one-of-a-kind, ranging from 1–2 inches thick. It’s stunning but demands more layout planning and careful base work. Flagstone costs $8–18 per sq ft: installation is slower because you’re fitting puzzle pieces.
Slate is refined flagstone, thinner (⅝–¾ inch), more uniform, sometimes with slip-resistant riven (rough) finishes. It’s premium material: $12–25+ per sq ft. Slate works beautifully for formal patios and high-traffic areas where appearance matters as much as durability.
For a backyard patio transformation, start by measuring your space, considering foot traffic patterns, and checking local frost lines (typically 2–4 feet deep in cold climates). Base prep, compacted gravel, sand, and proper slope for drainage, isn’t glamorous but determines whether your patio lasts 10 or 40 years.
Choose your stone type based on climate and use. In freeze-thaw zones, avoid porous stones prone to spalling (flaking). In wet climates, prioritize drainage and slip resistance. Regional availability also matters: sourcing local stone cuts costs and environmental impact significantly.
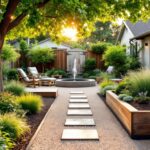
Stone Pathways And Walkways
Pathways are the easiest stone project for beginners and deliver immediate curb appeal. Lay out your route with spray paint or garden hose before committing to anything permanent.
Stepping stones (flat pavers set directly into soil or gravel) work for light foot traffic and informal gardens. Dig each hole slightly deeper than the stone’s thickness, add 1 inch of sand, place the stone, and backfill around it. Cost: $2–8 per stone, depending on size and type.
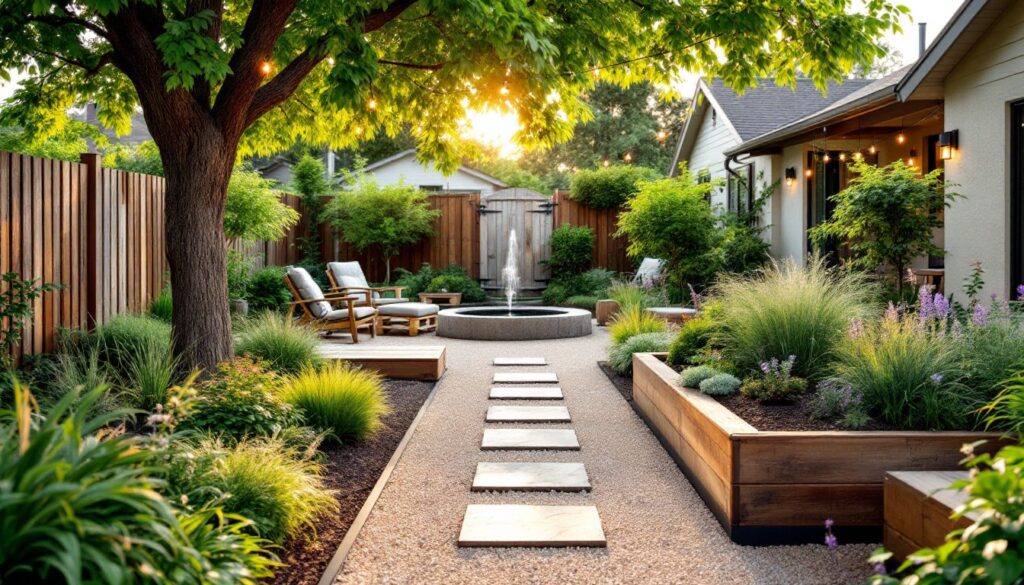
Pea gravel pathways blend low cost, easy installation, and a classic look. A properly built pea gravel path uses landscape fabric (prevents weeds), 3 inches of compacted gravel base, and 2 inches of pea gravel on top. Hardscaping information on pea gravel offers detailed installation guidance. Edge your path with metal or wood borders to contain the gravel long-term. Budget: $2–4 per sq ft, though maintenance involves refreshing the gravel every 2–3 years.
Mortared stone pathways are permanent and professional-looking. Set stones on a concrete base with mortar joints (⅜–½ inch wide). This requires mixing mortar, understanding cement hydration, and keeping joints consistent, doable for DIYers but slower. Cost jumps to $10–18 per sq ft.
Safety note: avoid shiny, polished stone on pathways where water pools, it becomes dangerously slippery when wet. Textured or riven surfaces grip better. Also wear gloves and a dust mask when cutting stone: silica dust poses serious respiratory risks.
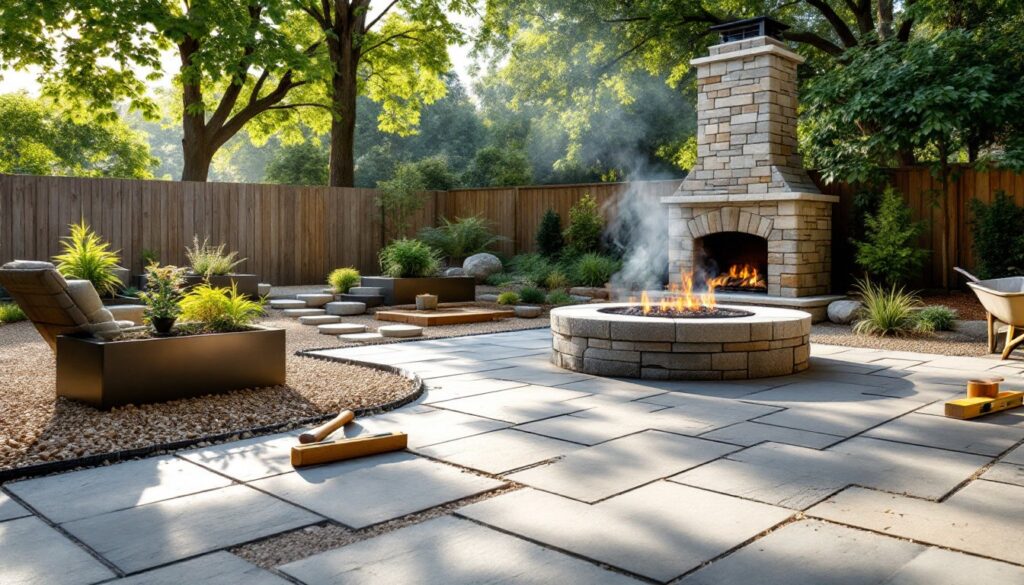
Water Features And Stone Landscaping Elements
Stone anchors water features and hardscape elements that become focal points in your outdoor space. A dry-stacked stone waterfall or pond surround uses larger stones stacked without mortar, dramatic and surprisingly stable if each stone’s weight is distributed downward. DIY installation is possible with 2–3 people, a solid base, and patience for getting the lay right.
Fire pit rings made from stacked or mortared stone create gathering spaces. Dry-stacking fieldstone works for rustic looks: mortared stone looks more intentional. Key rule: the interior diameter must accommodate your grate or logs, and you’ll need good drainage to prevent water pooling. Check local fire codes, some jurisdictions require permits or restrict open flames.
Raised planter beds edged in stone combine function and aesthetics. Stack stones 2–3 feet high, backfill with soil, and you’ve got easy-access gardening. Stone edging prevents soil erosion and defines garden zones. Materials cost $50–200 depending on size: installation is straightforward if you’re comfortable with dry-stacking or mortaring.
Home landscaping stone features work best when anchored to your home’s architecture or existing hardscape. A stone accent wall on a fence, a mortared stone veneer on a chimney, or stone risers on deck steps tie your outdoor space together visually. These are excellent projects for intermediate DIYers, though masonry repair or large-scale veneer work warrants professional evaluation first.
DIY Stone Projects You Can Start This Season
Beginner-friendly projects:
-
Stepping-stone garden path – Dig holes, set stones in sand, backfill. Two to three hours for a 20-foot path. Tools: spade, level, rubber mallet. Cost: $30–80.
-
Pea gravel patio edge – Outline your patio with border stones and gravel. One weekend, one or two people. Tools: shovel, level, landscape fabric stapler. Cost: $100–250.
-
Dry-stacked stone planter box – Stack 3–4 courses of stone, no mortar. Afternoon project for one person. Tools: rubber mallet, level. Cost: $50–150.
Intermediate projects (permit check recommended):
-
Mortared patio or pathway – Requires concrete base, mortar mixing, and joint finishing. 3–4 weekends for 100 sq ft. Tools: mixer or mixing tub, trowel, jointer, brush. Cost: $800–1,500.
-
Stone fire pit ring – Stack or mortar stone around a 3–4-foot diameter ring. Plan 1–2 weekends. Tools: chisel, mallet, shovel, level, mortar tools. Cost: $150–400.
-
Stone veneer accent wall – Mortar thin stone sheets to existing wall. Requires surface prep and proper adhesive. 2–3 weekends. Tools: notched trowel, grout tools, wet saw. Cost: $400–800.
Before starting any project, check your local building and zoning codes. Fire pits, retaining walls, and structures with footings often require permits. Water features and electrical elements (for fountains or landscape lighting) may need licensed professionals. There’s no shame in calling an inspector or contractor for a 15-minute consult, it’s cheaper than ripping out work that violates code.
Invest in the right tools: a wet saw for stone cutting is worth renting ($20–40 per day), a level under 4 feet is essential, and a rubber mallet prevents stone chipping. Cheap chisels dull fast and frustrate quickly: quality tools cost more upfront but save time and aggravation.
Safety reminders: Home improvement and DIY safety guidelines emphasize PPE. Wear eye protection when cutting or chiseling stone, gloves to prevent abrasions, a dust mask or respirator when generating stone dust, and ear protection if using power saws. Mortar and concrete are caustic, gloves and eye wash are non-negotiable.
Conclusion
Stone transforms backyards because it’s durable, beautiful, and genuinely accessible for DIY work. Whether you’re laying a simple pea-gravel path, building a mortared patio, or stacking a dry-stone planter, the fundamentals are the same: measure twice, prep your base, and take your time with alignment. Start with a smaller project this season to build confidence, then tackle something bigger next year. Your backyard’s stone oasis isn’t out of reach, it just takes patience and the right approach.